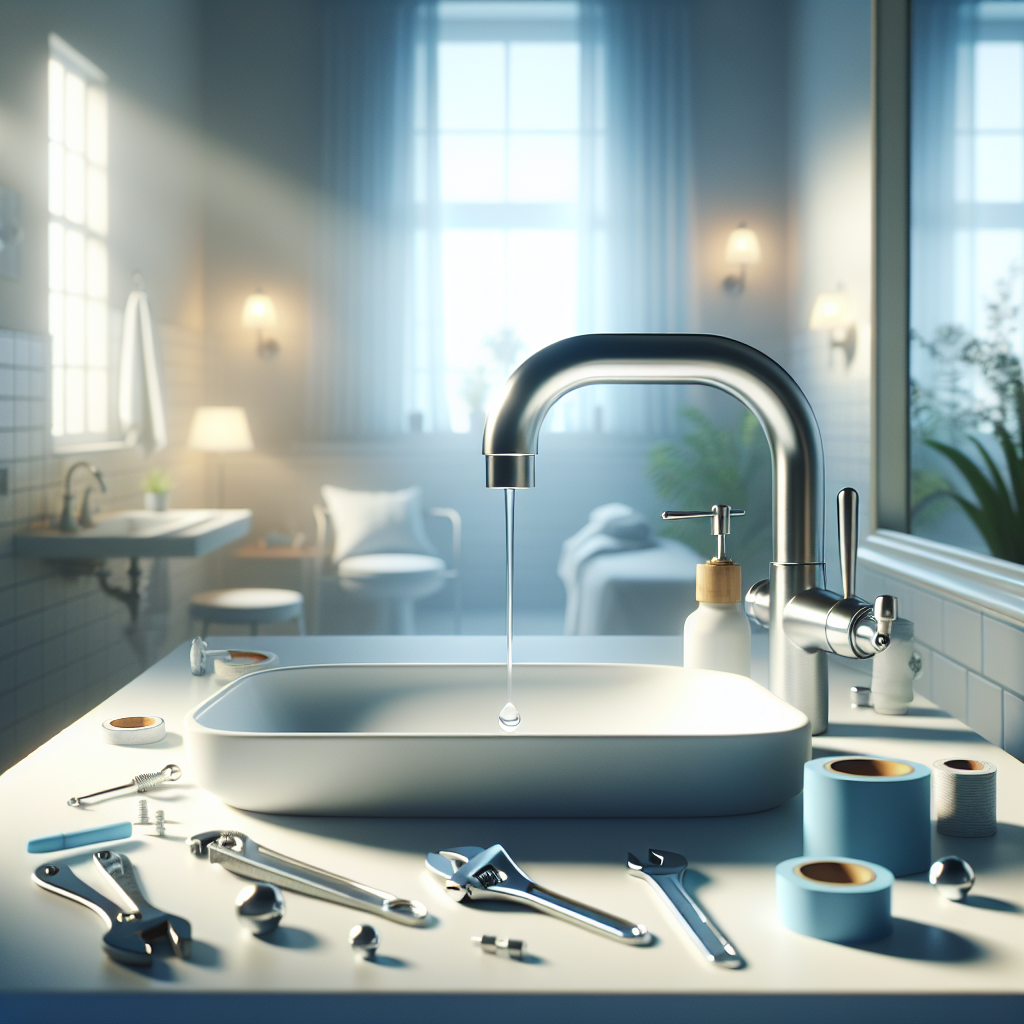
DIY Plumbing: Fixing Dripping Faucets Made Simple
There’s nothing quite as annoying as the constant drip, drip, drip of a leaky faucet. Not only is it a nuisance, but it can also lead to higher water bills and unnecessary water waste. The good news? You can fix it yourself! In this guide, we’ll walk you through the simple steps to get your faucet back in shape. 💧🔧
Table of Contents
1. Understanding the Basics of Faucet Functionality
2. Tools You’ll Need for the Job
3. Step-by-Step Guide to Fixing a Dripping Faucet
4. Common Mistakes to Avoid
5. Conclusion
6. FAQs
Understanding the Basics of Faucet Functionality
Before diving into the repair process, it’s essential to understand how a faucet works. Most household faucets are either compression or washerless types, each with specific components that can wear out over time. Knowing which type you have will help streamline the repair process.
Tools You’ll Need for the Job 🛠️
Gathering the right tools before starting can save you time and frustration. Here’s what you’ll need:
– Adjustable wrench
– Screwdriver set
– Replacement parts (washers, O-rings, or seals specific to your faucet type)
– Plumber’s tape
– Small bucket or towel (to catch water)
Step-by-Step Guide to Fixing a Dripping Faucet
Ready to tackle that drip? Follow these steps:
1. Turn Off the Water Supply 🚰
Before you begin, ensure the water supply to the faucet is turned off. This prevents any unexpected sprays or additional leaks during the repair process.
2. Disassemble the Faucet
Use your screwdriver to carefully remove the handle by unscrewing any visible screws. Once the handle is off, you’ll access the internal components that might be causing the leak.
3. Inspect and Replace Worn Parts
Look for worn washers, O-rings, or seals, as these are the usual culprits behind drips. Replace any damaged parts with new ones, ensuring they fit snugly.
4. Reassemble the Faucet 🔧
With the new parts in place, reassemble the faucet in the reverse order of disassembly. Make sure each component is tightly secured to avoid future leaks.
5. Turn the Water Back On
Once everything is back in place, turn the water supply back on and test your faucet. If there’s no drip, give yourself a pat on the back! 🎉
Common Mistakes to Avoid 🚫
Even the best DIYers can make mistakes. Avoid these common pitfalls:
– Forgetting to turn off the water supply
– Using the wrong size replacement parts
– Over-tightening components, which can cause damage
Conclusion
Fixing a dripping faucet is a straightforward task that can save you money and prevent water waste. By following these steps, you’ll not only solve the immediate problem but also gain valuable skills for future home repairs. Happy plumbing!
FAQs
Q1: How can I tell what type of faucet I have?
Check the style and mechanism of your faucet. Compression faucets use washers while washerless faucets (such as ball, disc, or cartridge) have different internal parts.
Q2: What if my faucet is still leaking after replacement?
Double-check that all parts are correctly installed and that there are no damages to the faucet body. If issues persist, consult a professional plumber.
Q3: Can I use household tools if I don’t have plumbing-specific equipment?
Yes, many household tools like adjustable wrenches and screwdrivers can suffice. Just ensure they fit properly to avoid damaging your faucet.
By tackling this DIY project, you’re not only fixing a leak but also building confidence in your home maintenance abilities. Keep up the great work! 🏠✨


