Transform Your Space: A Beginner’s Guide to Painting
Do you feel like your home could use a little refresh? 🎨 Painting is one of the simplest and most cost-effective ways to breathe new life into a space. Whether you’re looking to create a cozy nook or make a bold statement, this beginner’s guide to painting will help you achieve your dream look.
Table of Contents
1. Introduction
2. Choosing the Right Color Palette
3. Gathering Your Supplies
4. Prepping Your Space
5. Painting Techniques for Beginners
6. Adding the Finishing Touches
7. Conclusion
8. FAQ
Choosing the Right Color Palette 🎨
Before you dip your brush into the paint, it’s important to choose a color palette that complements your style and the existing elements of your room. Consider the mood you want to create: calming blues for relaxation, vibrant yellows for energy, or neutral tones for a classic touch. Don’t forget to test swatches on your walls to see how they look at different times of the day!
Gathering Your Supplies 🛠️
Once you’ve settled on a color, it’s time to gather your supplies. Here’s a handy list to get you started:
– Paint (obviously!)
– Paint rollers and brushes
– Painter’s tape
– Drop cloths to protect your furniture and floors
– A paint tray
– Sandpaper for smoothing surfaces
– A ladder, if needed
Prepping Your Space 🧽
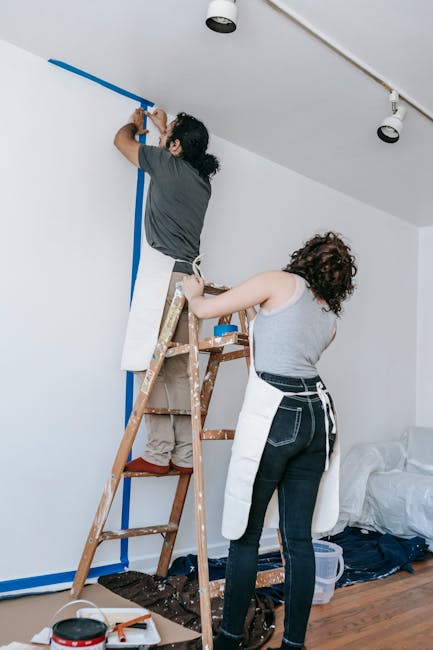
Preparation is key to a successful paint job. Start by clearing the room of furniture or covering it with drop cloths. Use painter’s tape to protect trim, windows, and other areas you don’t want to paint. Clean the walls and sand any rough patches to ensure a smooth finish. Taking the time to prep your space will save you from dealing with unwanted paint splatters later.
Painting Techniques for Beginners 🖌️
Now for the fun part! If you’re new to painting, here are a few techniques to help you get started:
– **Cutting In:** Use a brush to paint the edges where rollers can’t reach. This creates a neat border.
– **Rolling:** Start from the top and work your way down, using a ‘W’ or ‘M’ motion to cover the walls evenly.
– **Layering:** Apply multiple coats for an even finish, allowing each coat to dry before adding the next.
Adding the Finishing Touches 🔧
Once your final coat is dry, carefully remove the painter’s tape. Check for any touch-ups or missed spots. If you’re feeling creative, consider adding a stencil or accent wall for an extra pop of personality. Lastly, step back and admire your handiwork—you’ve transformed your space!
Conclusion
Painting can seem daunting at first, but with the right preparation and tools, it’s a rewarding DIY project that can dramatically enhance your home. Remember, practice makes perfect, so don’t be afraid to experiment with different techniques and colors. Happy painting! 🏠
FAQ
1. How do I choose the best type of paint for my room?
Consider the room’s function and the amount of traffic it receives. For high-traffic areas, a durable, washable paint is ideal. For a living room or bedroom, you might opt for a matte or eggshell finish for a softer look.
2. How long should I wait between coats of paint?
It’s generally recommended to wait at least 2-4 hours between coats, but it’s best to follow the drying instructions on your paint can for optimal results.
3. Can I paint over darker colors with lighter paint?
Yes, but it may require additional coats or a primer to prevent the darker color from bleeding through.
4. What should I do if I accidentally get paint on the ceiling?
Use a damp cloth to gently wipe it off while the paint is still wet. For dried paint, a small amount of paint thinner on a cloth may help.
5. Do I need to paint the ceiling too?
It’s not always necessary, but painting the ceiling can give your room a more cohesive look. If you do, consider using a flat paint to minimize light reflection.


